Getting your house ready to sell can create all kinds of stress and uncertainty.
Which updates are worth making?
Will buyers think your home is outdated or overpriced?
And how much work should you really do?
If you’re like most sellers, you probably have a lot on your plate.
You want to take the right steps.
But you don’t want to waste time or money.
So start with one question.
How much time do you actually have before putting your house on the market?
Your timeline should dictate what you prioritize.
Six months gives you room to plan, get quotes, and tackle bigger items without rushing.
Sixty days is enough time to handle the issues that spook buyers and still make the home show well.
Thirty days is about high-impact touch-ups that lift buyer perception quickly.
Two weeks is about presentation.
Clean, decluttered, and ready for photos and showings.
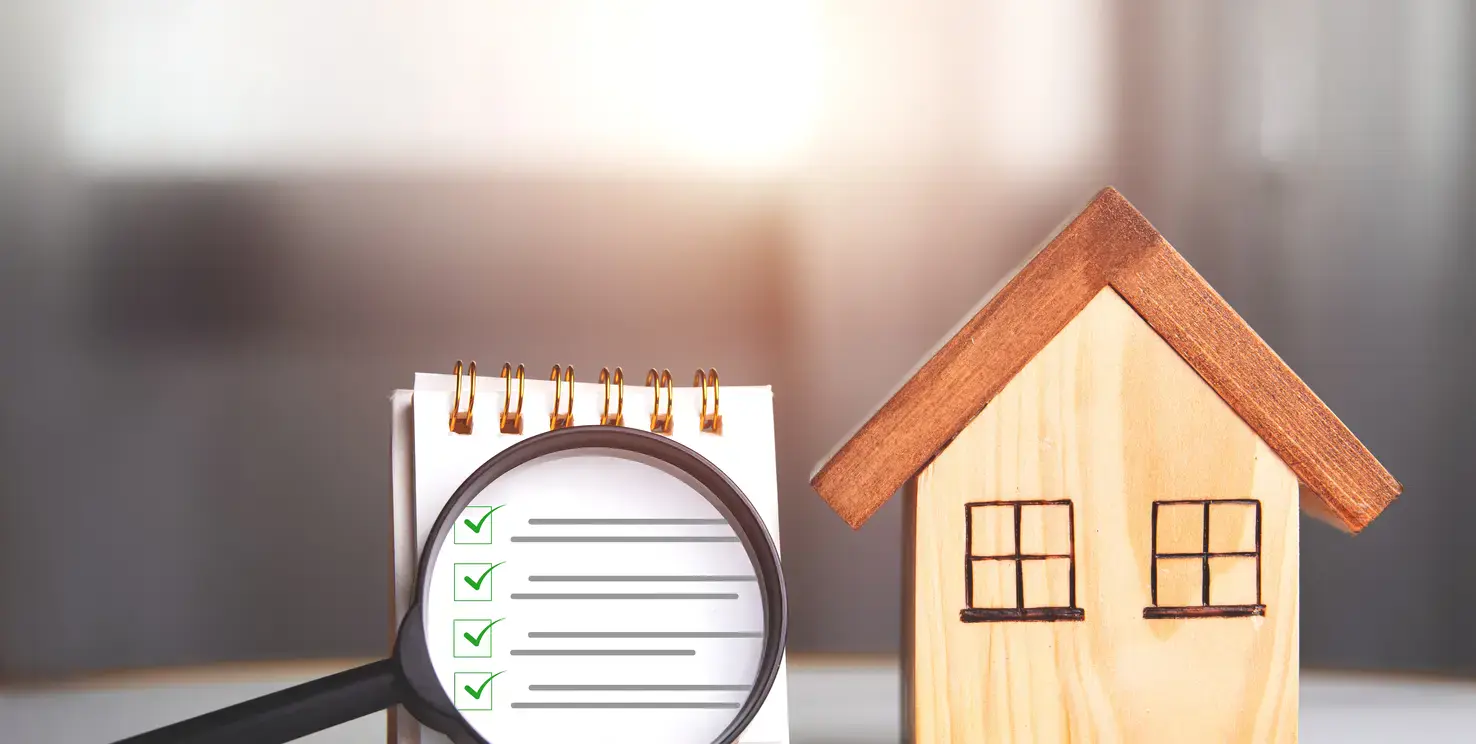
Here’s a 10-step checklist to help you get your house ready to sell in the right order.
1. Walk your home like a buyer would
Buyers will notice things about your home that you stopped seeing years ago.
That’s why it’s smart to catch potential red flags before your house is listed for sale.
But this step isn’t about making any big changes.
It’s about walking your property like a buyer would and taking notes.
That shift in perspective gives you clarity.
You’ll see what looks dated, what looks neglected, and what might make a buyer hesitate.
Walk your home’s exterior
Stand across the street and look at your home for 30 seconds.
Ask yourself:
- Is the front yard clean and inviting?
- Does the front door or garage door need fresh paint?
- Does the roof have leaves, moss, or debris that should be cleared?
- Could the backyard use a simple refresh?
Now walk the rest of the exterior and jot down anything that looks damaged or worn.
Walk the interior
Step inside and go room by room:
- Check for wall scuffs, chipped paint, and broken fixtures.
- Open and close windows and doors to test how they work.
- Run faucets and flush toilets to spot leaks or low pressure.
- Check lights, switches, outlets, filters, and smoke detectors.
- Look at the kitchen and bathrooms for easy visual updates.
When you’re done, you’ll have a list of issues that could:
- Raise buyer concerns
- Slow down your sale
- Cost you money during negotiations.
Knock out the quick fixes after your walkthrough
These are things like tightening loose hardware, replacing burned-out bulbs, and swapping dead batteries in smoke detectors.
Then keep everything else on your punch list.
You’ll use it to decide what’s worth tackling in the next steps.
2. Declutter and depersonalize
Presentation is everything when selling a house.
Decluttering gets you there.
What you remove, and where it goes, depends on whether the home will be vacant or occupied when it hits the market.
If the home will be vacant
You have a clean slate if your home will be vacant when listed.
That’s a big advantage for staging and photos.
But the key is to not let it look abandoned.
Make it look clean and intentional.
- Remove furniture that is not for staging: Make sure to clear out beds, nightstands, chairs, and extra pieces that will not be used.
- Check closets, cabinets, and drawers for leftovers: It’s not uncommon for vacant homes to have hidden odds and ends under sinks and in storage areas. Clear them out so storage looks clean and spacious.
- Offload items fast: Use Facebook Marketplace, Nextdoor, Buy Nothing groups, or a garage sale to move furniture and tools quickly.
- Do a final sweep: Check the attic, garage, yard, and side areas. These are easy to miss and buyers will look.
If you’ll be living in the home
Decluttering while living in the house is harder.
But it matters more.
Why?
Because clutter makes rooms feel smaller.
And it makes it harder for buyers to picture themselves living there.
- Start with moving boxes and bins: Label what you will keep, donate, store, or toss.
- Clear surfaces first: Counters, shelves, nightstands, and bathroom vanities should stay mostly empty.
- Organize closets and cabinets: Neat storage suggests the home has more space.
- Use the garage for overflow if needed: Buyers will look, but keeping items in the garage won’t have a negative impact.
- Do not block key selling points: Keep walkways clear and avoid placing anything in front of windows, fireplaces, built-ins, or closets.
- Remove personal distractions: Pack up family photos, bold decor, and anything overly personal.
3. Get early guidance from a listing agent
Some sellers wait to reach out to an agent until their home is almost ready to list.
That delay can cost you.
I saw this many times when I was selling homes.
Sellers would call after spending months on work they didn’t need.
Did the home look better?
Yes.
But some of the updates were a waste of time and money.
The right listing agent helps you avoid that.
They can tell you what buyers in your area value most.
And they can flag what’s not worth doing, even if it feels “responsible.”
But the guidance is only as good as the person giving it.
That’s why choosing the right real estate agent matters.
When you talk with one, ask for their take on:
- What buyers are paying attention to in homes like yours
- Which updates will actually help your home show better
- What you can realistically finish before your target list date.
Get the right guidance and you’ll move faster with fewer regrets.
You’ll spend money in the right places.
4. Schedule a pre-listing home inspection
Do you need to get a home inspection before selling your house?
No.
But a pre-listing inspection can be one of the smartest moves you make as a seller.
It helps you uncover issues before a buyer does.
And that reduces surprises later.
It also makes buyers less likely to:
- Ask for repairs or a price reduction after going under contract
- Back out of the deal altogether.
An inspection report gives you options.
You can fix certain items, offer a credit, adjust your price, or sell your home as-is.
You’re not obligated to fix anything in the report.
The real benefit is transparency.
When buyers know what to expect, they tend to feel more confident making an offer.
You can schedule an inspection in two ways:
- Contact a licensed home inspector directly.
- Ask your real estate agent for a trusted referral.
And if it makes sense for your home, consider add-on inspections like roof, termite, or sewer.
They can also uncover hidden issues early and reduce buyer concerns.
5. Make high-impact repairs
Now it’s time to decide which repairs are worth making.
Start with the notes from your buyer walkthrough and your inspection report.
Then build a short list of what you plan to fix.
But don’t try to fix everything.
Set a realistic repair budget first.
Then get input from your agent.
They should help you prioritize what you should fix and what you should skip.
Here are the repairs you should concentrate on:
- Plumbing: Fix leaky faucets, running toilets, and slow drains. Even small water issues raise red flags.
- Roof: Replace missing shingles and patch small leaks. Roof concerns scare buyers and invite big repair requests.
- HVAC: Replace filters and confirm the system runs properly. Buyers want reassurance it will not fail right after they move in.
- Electrical: Replace broken switches and non-working lights. Add GFCI outlets in kitchens and baths where needed.
- Windows and doors: Make sure they open, close, latch, and lock properly. Drafty or sticky windows feel like bigger problems.
- Exterior: Repair damaged siding, gutters, trim, steps, and railings. Visible neglect hurts first impressions.
- Sealing and small cracks: Caulk gaps around windows and doors. Patch small cosmetic cracks. This reduces worry about water and pests.
Once you’ve picked your priorities, decide what you’ll do yourself and what you’ll hire out.
Your agent can usually recommend a handyman or contractor who can move fast and keep costs reasonable.
6. Choose improvements that pay off
Not all upgrades are worth making when selling your home.
Some drain your time and budget without increasing your sale price.
So if you plan to improve anything, choose wisely.
Start by narrowing your list to upgrades that improve your home’s visual appeal and make it feel move-in ready.
And prioritize projects you’re confident you can finish quickly.
Then follow a simple process:
- Compare the cost of each upgrade to its likely impact on value
- Get two to three quotes if you plan on hiring a professional
- Choose projects that fit your budget and timeline
- Schedule the work early so you’re not rushed before listing.
Here are a few improvements that often deliver a great return on investment:
- Fresh interior paint: Neutral paint makes the home feel brighter and more updated.
- Countertops: Quartz can modernize a kitchen or bath if the cabinets are in good shape.
- Appliances: Stainless steel can improve the look of the kitchen if yours are mismatched or dated.
- Flooring: Replacing worn carpet or dated laminate with luxury vinyl plank or hardwood can elevate the whole house.
Small updates can also help:
- Swap outdated fixtures in key rooms
- Replace old outlet and switch covers
- Add modern cabinet hardware and door handles
- Replace dated curtains with simple, neutral blinds.
The goal is to boost buyer perception without overspending.
7. Boost curb appeal
The front of your house is the first impression buyers will have.
It sets the tone for how they view your home’s interior.
The good news is curb appeal doesn’t have to cost a lot.
You just need the right updates in the right places.
Start by revisiting your notes from the exterior walkthrough.
Not sure what’s worth doing?
Get your agent’s advice on which curb appeal updates will have the biggest impact from the street.
Then decide what you can do yourself and what you want to hire out.
If you hire help, get two to three quotes and compare timing and cost.
Here are affordable curb appeal upgrades that make a big difference:
- Add fresh mulch to bare patches and flower beds
- Plant seasonal flowers or low-maintenance shrubs
- Trim overgrown bushes and tree limbs
- Power wash walkways, the porch, and siding
- Paint the front door or garage door if they look tired
- Clean or upgrade house numbers and the mailbox
- Replace dated exterior light fixtures
- Sweep the entry and remove cobwebs and debris
The small details matter.
A dusty door or messy yard can make buyers question how well the home has been maintained.
Your goal should be a welcoming exterior that makes buyers want to see what’s inside.
8. Deep-clean every room
Put yourself in the shoes of a buyer for a moment.
You walk into an open house and immediately notice signs of poor cleanliness.
Dirty floors.
Dusty baseboards.
Smudged mirrors.
Lingering pet odors.
And grimy sinks.
Naturally, you’d question how well the home has been maintained.
That’s exactly why deep-cleaning is a must when getting your home ready to sell.
It signals to buyers that the home has been cared for.
Clean at the right time
Deep-clean after the clutter is gone and before staging and listing photos.
If you’re doing it yourself, give yourself a full day.
Or hire a professional cleaning service to save time.
Here’s where to focus:
- Dust from top to bottom: Corners, ceiling fans, vents, light fixtures, and baseboards.
- Wipe down all surfaces: Countertops, appliances, bathroom vanities, and sinks.
- Scrub the kitchen and bathrooms: Tackle soap scum, mildew, and odors.
- Clean appliances: Degrease stovetops, wipe inside the microwave, and scrub refrigerator shelves.
- Wash mirrors and windows: Remove streaks and clean window screens.
- Deep-clean the floors: Shampoo carpets, polish wood, and mop tile.
- Eliminate odors: Open windows, use neutral cleaners, and treat pet smells at the source.
A clean home doesn’t just look better.
It shows better, smells better, and reduces buyer concerns.
9. Stage your home for the right buyer
Staging helps buyers picture themselves living in your home.
It can also make rooms feel bigger, brighter, and more functional.
That’s why it’s one of the best ways to transform how your home feels, without lifting a hammer.
Staging works best when the space matches the lifestyle of your likely buyer.
Start by getting professional input.
Your agent should provide a staging consultation or a referral to a trusted local stager.
Then decide whether full or partial staging makes sense for your budget and timeline.
If the home is vacant, staging is almost always worth it.
Empty rooms tend to feel colder and smaller, and buyers struggle to visualize how the space works.
If you can only stage a few areas, prioritize:
- The living room
- The kitchen and dining area
- The primary bedroom
- Any awkward or undefined spaces
If you’re still living in the home, you should stage it too.
- Remove or reposition bulky furniture to open up the room.
- Use neutral decor and simple textures to create warmth.
- Clear surfaces and hide personal items.
- Consider partial staging if you want help with key rooms or accessories.
Once your home is staged, keep it that way for showings and open houses.
10. Prep for listing day
Listing day is your home’s debut.
First impressions matter, both online and in person.
This final step is about the finishing touches.
You want your home looking its best for photos, showings, and open houses, even if it’s clean, staged, and updated.
Here’s what to do in the 24–48 hours before listing:
- Do a final clean: Wipe counters, clean floors, and remove any new dust or smudges.
- Declutter again: Put away daily-use items like toothbrushes, dish racks, and pet bowls.
- Fluff and freshen: Smooth bedding, fluff pillows, and air out the home.
- Check curb appeal one last time: Sweep the entry, straighten outdoor furniture, and water plants.
- Secure valuables and prescriptions: Safeguard personal items before showings begin.
- Plan to leave during showings: Give buyers space so they can tour freely and picture themselves living there.
The goal is a home that feels walkthrough-ready the moment buyers arrive.
The bottom line
Getting your house ready to sell is about making the right moves in the right order.
Every step influences how buyers feel about your home.
Follow a proven checklist.
Spend your time where it pays off.
And bring in expert guidance when it matters.
Because the better your home shows, the stronger your leverage tends to be.
If you want help from a top local listing agent, choose someone who’s truly qualified and puts your interests first.
Our no-cost matching service can help.
Here’s how we vet agents for you.